Configure Authorizers
The option Configure Authorizers allows the alteration of the parameters referring to the authorized companies registered for a specific store. Through it, it is possible to modify the status of the authorizer, type of routing, and properties related to installment payments.
IMPORTANT: To perform configurations in authorization agencies that have extra parameters through the Store Portal, the authentication code will be required in two steps to complete the configuration. CIf this authentication method is not enabled, instructions on the procedure that must be taken to continue will be displayed on the screen. For further information about this authentication and how to enable it, click here.
To proceed with the authorizers configuration, follow the procedures below.
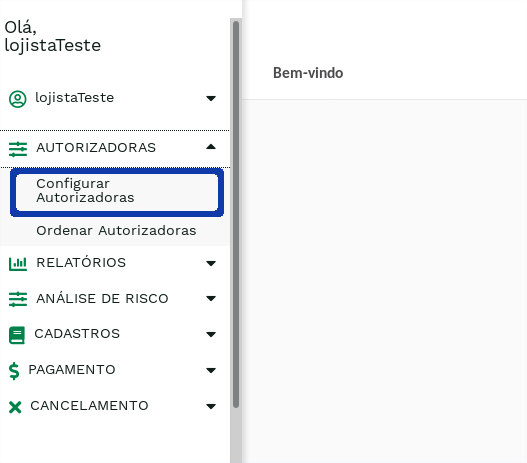
- Click on Configure Authorizers from the main menu:

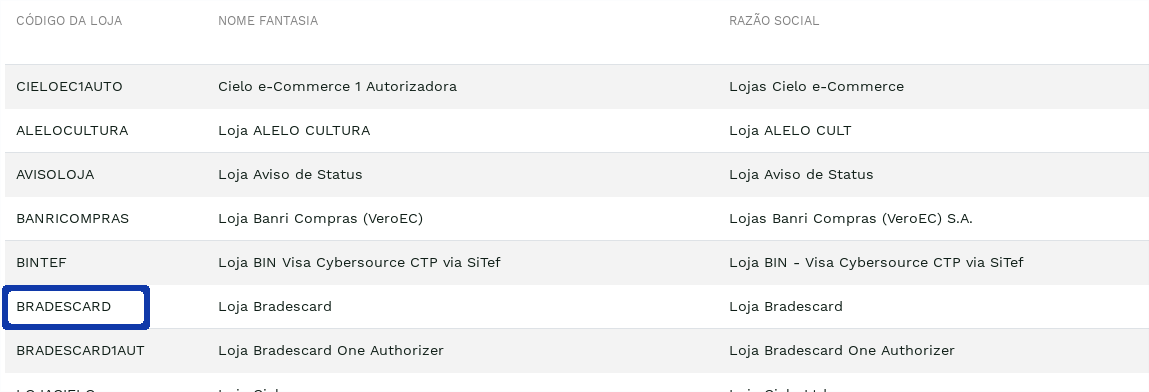
- Select the store where you want to configure::
Remark:
If the user only has one registered store, the screen below will not be shown, so skip to the next step.

To select a store, just click on one of the respective data: store code, trade name, or corporate name. All redirect to the page shown in the next step.
The BACK button returns you to the portal home page.
- Select the authorizer you want to configure:

To select an authorizer, just click on one of the respective data: authorizer id, authorizer, authorizer status, or routing type. All redirect to the page shown in the next step.
The BACK button returns to the registered stores screen for authorizing configuration.
ATTENTION: If the selected authorizer has extra parameters and the two-step authentication method is not enabled, an instructions screen will be displayed to configure the two-step authentication.
"Authorizers two-factor configuration instructions.." -no-filter
For more information about this authentication and how to enable it, click here.
- Fill in the fields as desired:

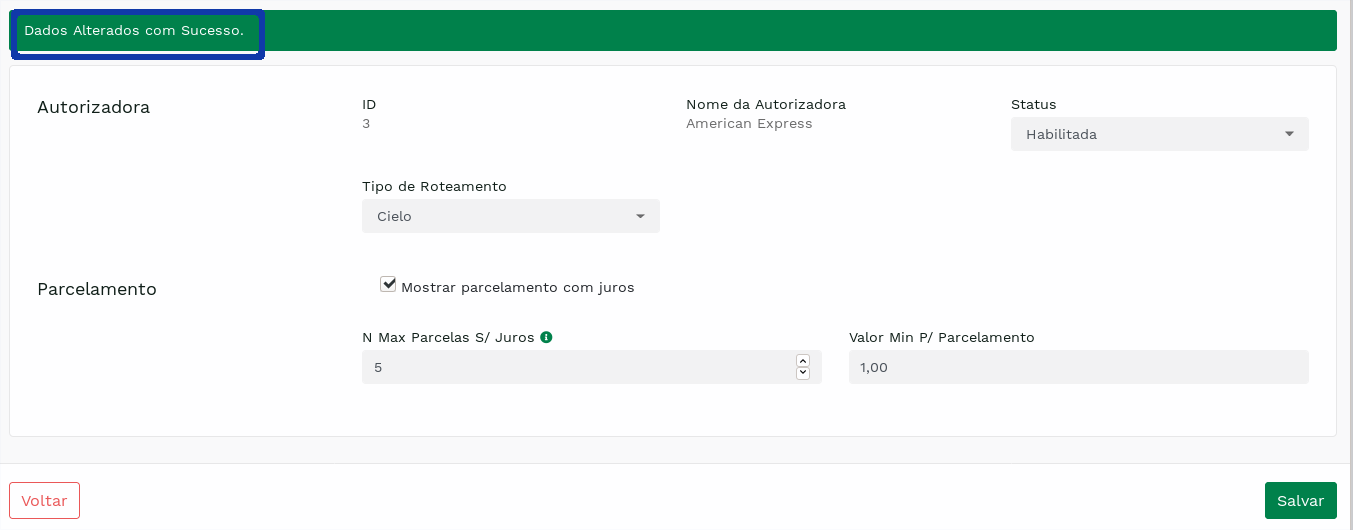
Click on the Save button to consolidate the configuration performed. The success confirmation message is highlighted in the figure below.

The BACK button returns to the screen of authorizers registered for the store.
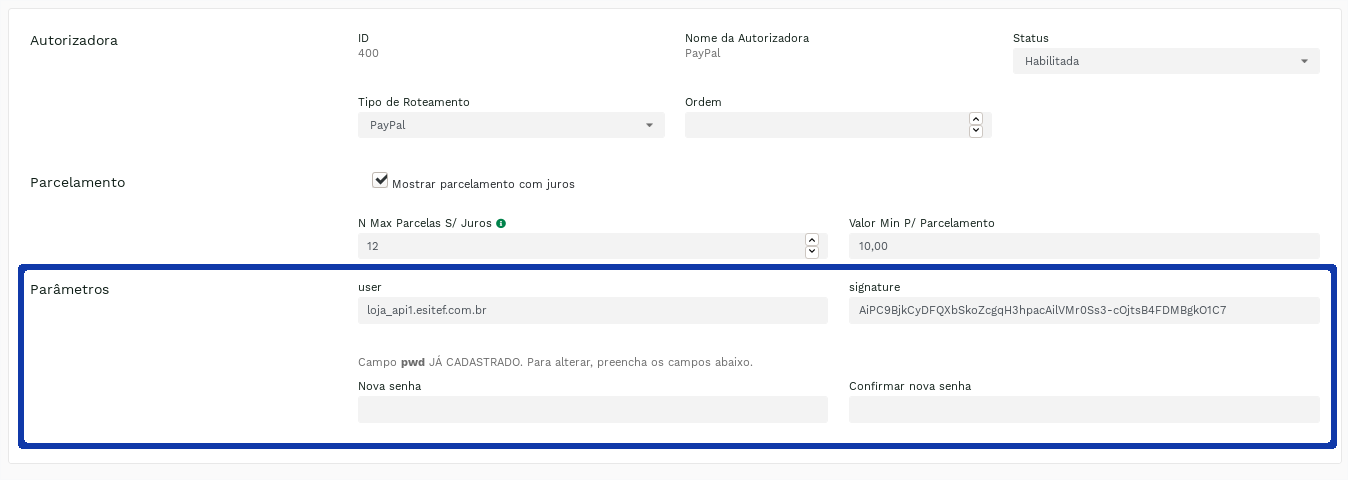
n some cases, the authorizer has additional configuration parameters that need to be input for correct operation with it, as in the example below:

Attention:
According to the needs of each authorizer, a group of different parameters will be requested.
In such cases, clicking on save will require the Two-Factor Authentication token.
For further information click here.
In some cases, a password type parameter is registered:
In this case, a password already registered with the authorizing/routing network must be registered. To enter a password or to update it with a new one, filling it in again in the New and Confirm New field is required. If the password entered is not the same in both fields, an error message is displayed, as shown in the following figure:

If the password is successfully entered or changed, a success message will be displayed on the screen:
