Recharges Report
The Recharges Report allows you to view all the recharges registered in your stores in a certain period of time. Various filters are applicable in the list of refills.
Attention:
To view the Recharges Report, the operating team must release the necessary permission.
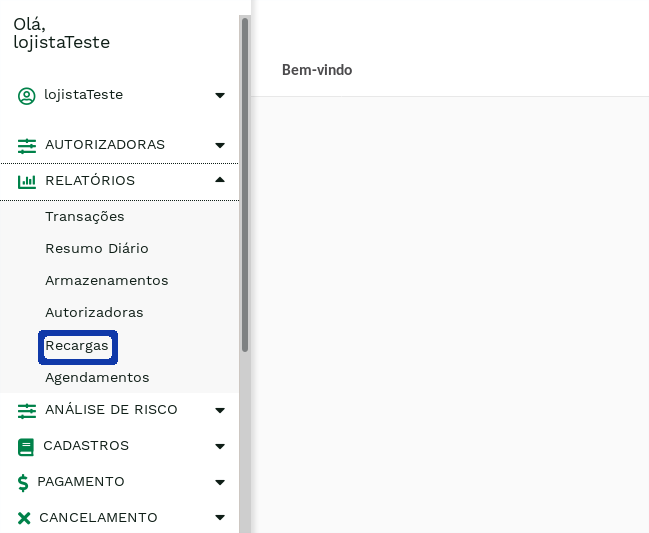
To access this report, place your mouse cursor over the link Reports from the main menu, and a sub-menu will appear. Then click on Recharges Report:
The displayed screen will be similar to the one below:

On this screen, the merchant has the option of defining the filters he/she wants to apply before generating the list of recharges for the specified period of time. The following table describes the possible filters for this report:
Table 1: Recharges Report Filters.
| Filter | Description |
|---|---|
| Start Date Data Inicial * | Initial reference date for listing transactions |
| End Date * | Final reference date for listing transactions |
| Store Code | Registered store for the merchant |
| Cell phone Company | Cell phone Company on which the recharge was performed (Vivo, Claro, Oi, Tim) |
| Store Code | Registered store for the merchant |
Attention:
Note that the Data fields, with tag *, are mandatory and must not exceed a difference of 3 (three) months.
Finally, after defining the desired filters, just click on Search. You will receive a list of all recharges that meet the specified criteria. The screen looks like this:
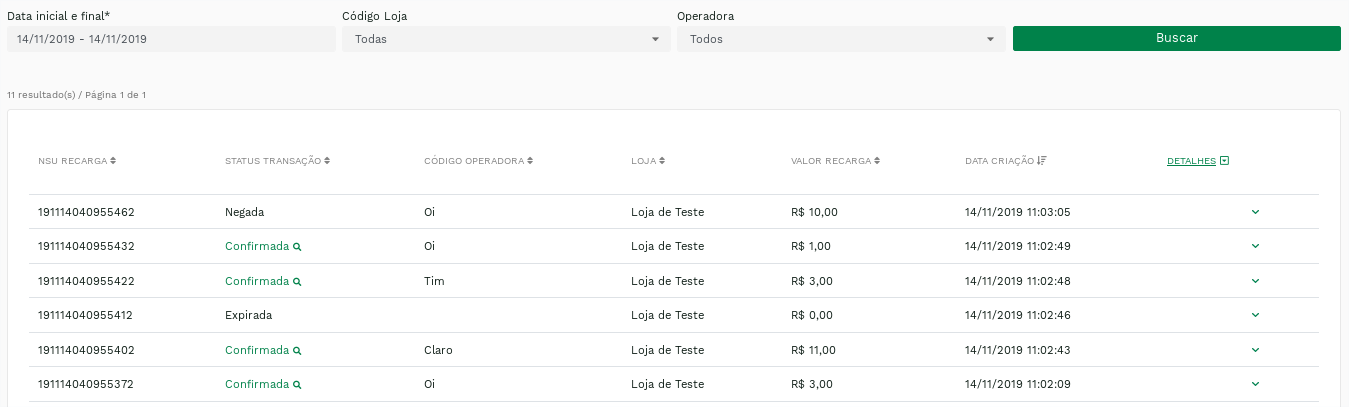
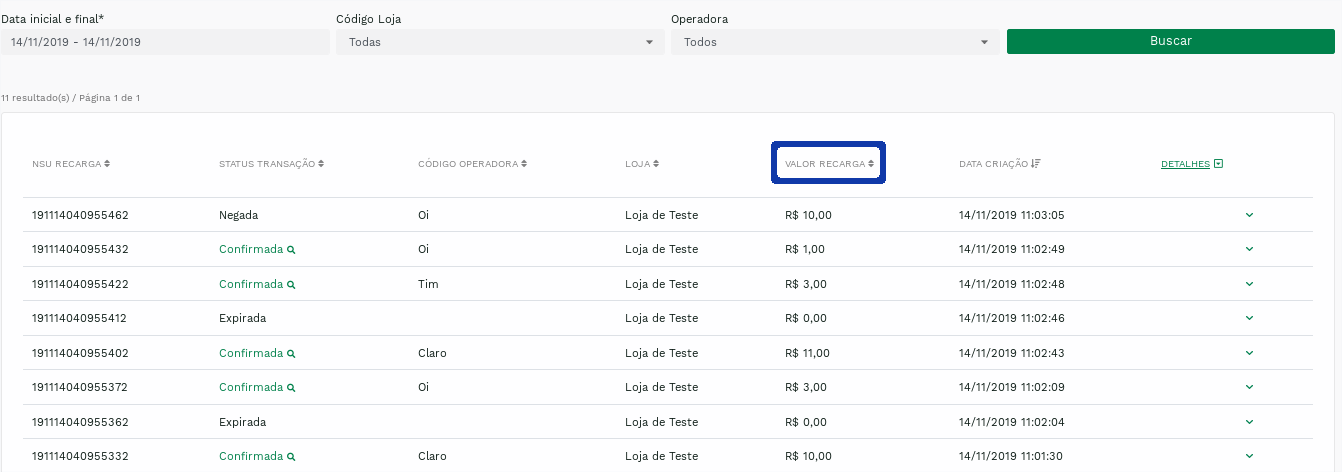
In this list, there are several useful features for the merchant. For example, it is possible to sort the recharges in numerical or alphabetical order of some of the main parameters. To do this, just click on any of the parameter titles – NSU RECHARGE, TRANSACTION STATUS, CELL PHONE COMPANY, STORE, DATA CREATION.
Clicking once sorts the recharges in ascending order. Clicking again sorts them in descending order. The default listing is to arrange the recharges in order from most recent to least recent.
It is also possible to see more details about the recharge. To do this, just click on the icon  , ao final da linha correspondente à recarga:

The displayed screen will be similar to the one below:
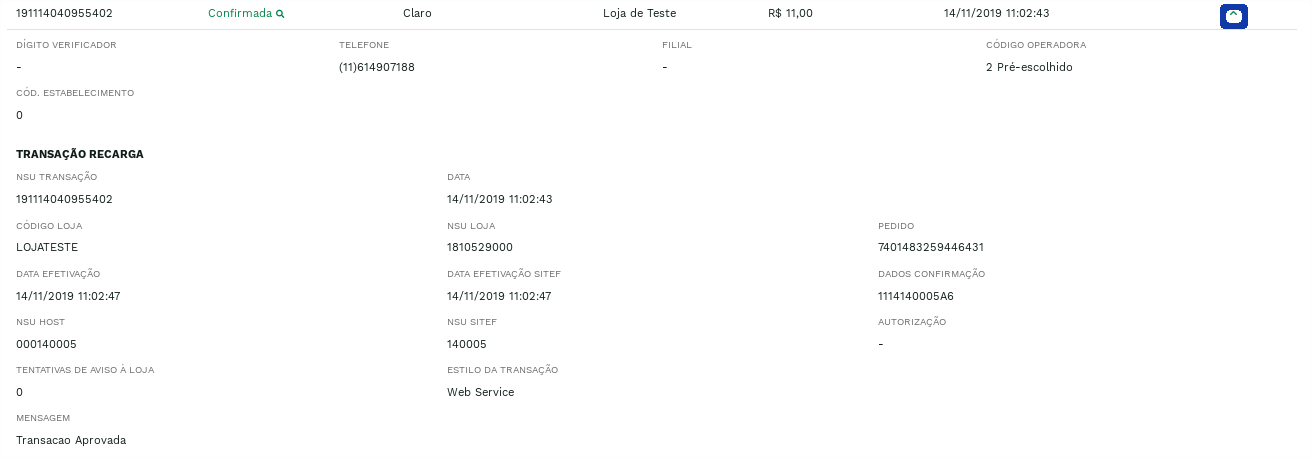
It is possible to hide these details by clicking the icon  , at the end of the storage's corresponding line (in the same place where the icon was clicked ).
It is also possible to view the details of all recharges in the list. To do this, just click on the DETAILS parameter title. Clicking once displays details of all stores in the list. Clicking again hides all details.
Attention:
Note that the recharge transaction also carries(within the details) information about the related payment transaction. This payment transaction appears in the Transaction Report as well.
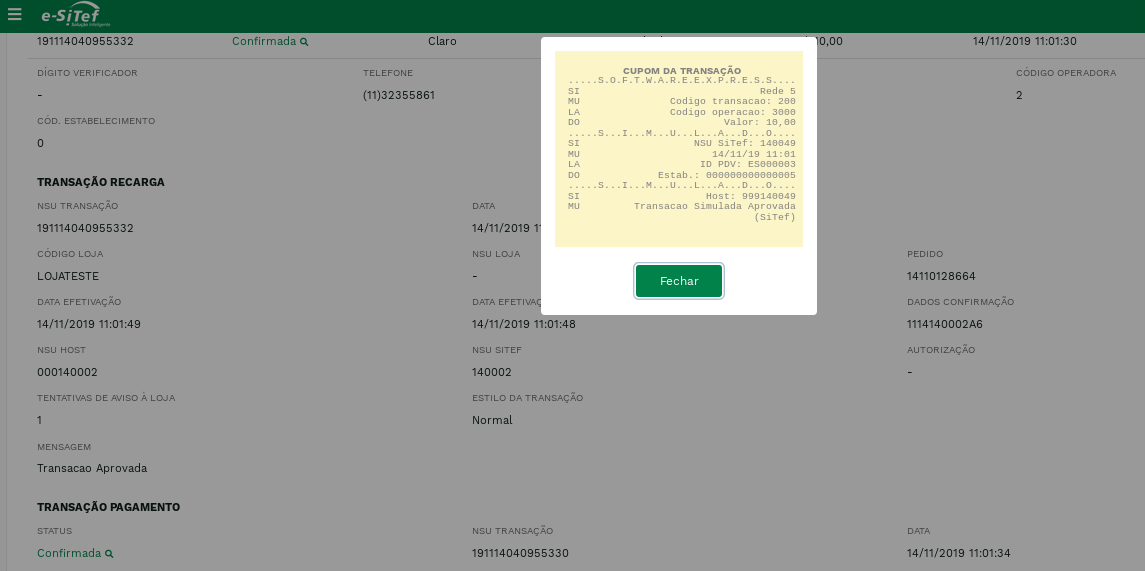
One more feature, present in the Recharges Report, is the display of receipts, both for the recharge and the payment made.
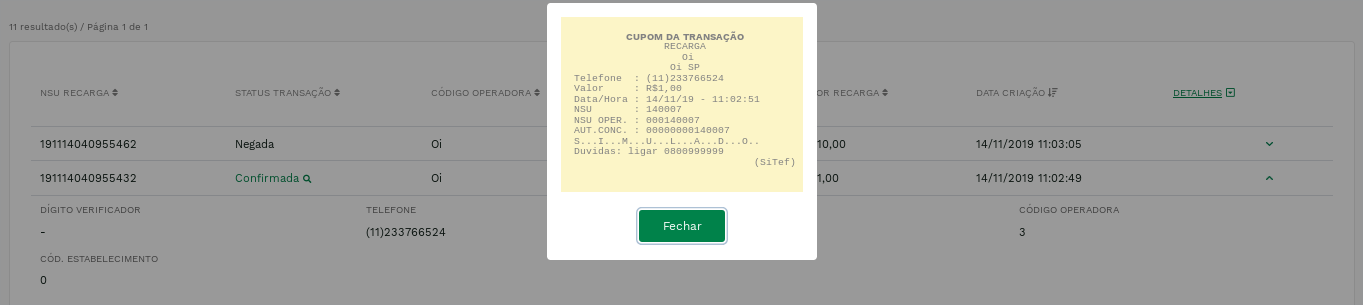
To view the recharge receipt, just click on status Confirmed, which is in bold, in the recharge line:

There is only recharge receipt in case of status confirmed. The receipt will come into focus on the screen, as you can see in the figure below:
You can also view the payment receipt. To do this, just click on the status Confirmed of the payment transaction:
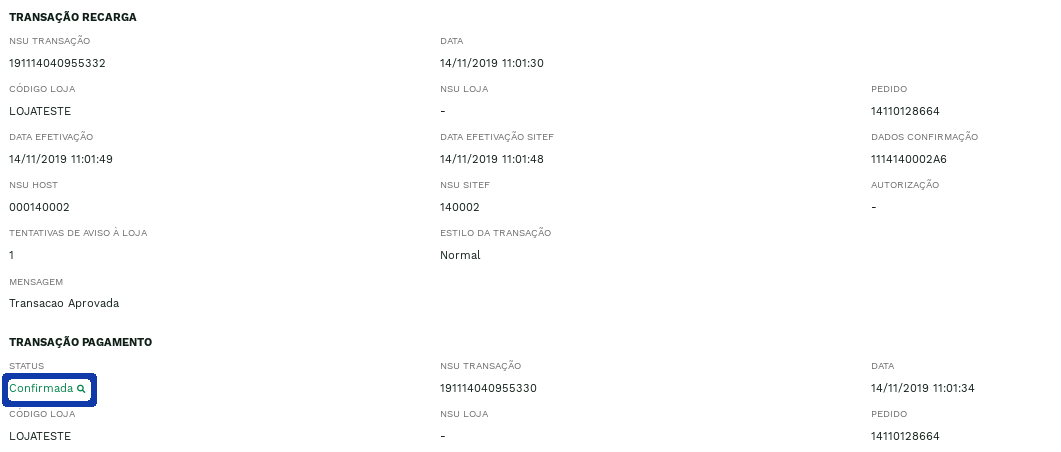
There is only payment receipt in case of status confirmed. The receipt will come into focus on the screen, as you can see below: